


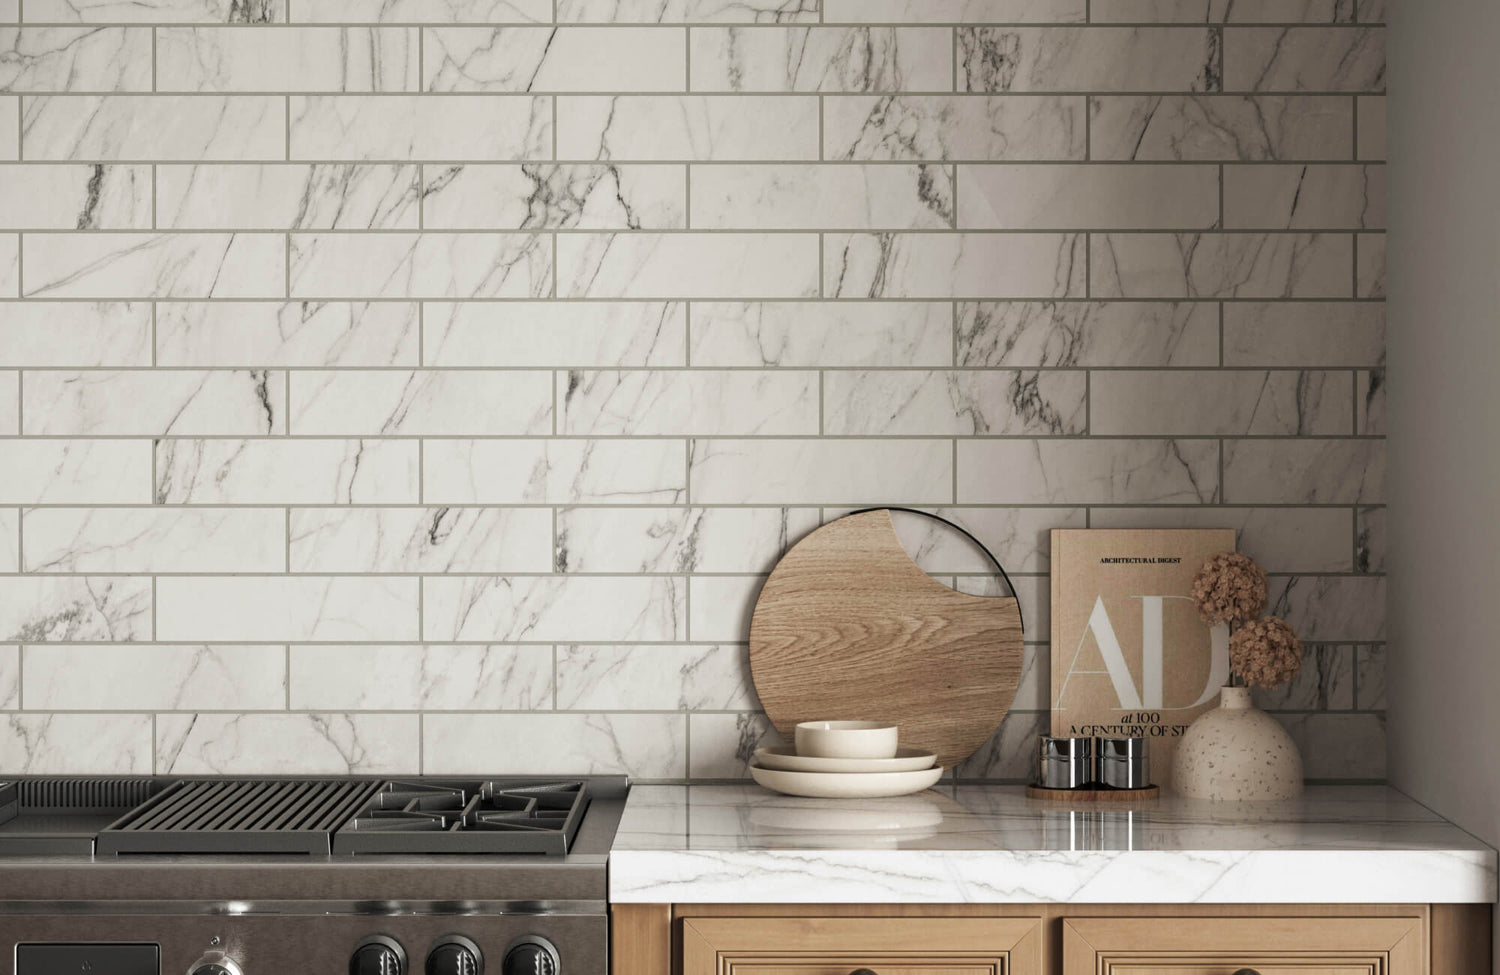
Subway tile, known for its clean lines and versatility, has become a staple in modern interior design. However, achieving the perfect look goes beyond just selecting the tile itself—grout line spacing plays a crucial role in shaping the final aesthetic. The width of these grout lines can dramatically influence the overall feel of a space, whether you’re aiming for a sleek, minimalist design or a more traditional, classic appeal.
Several factors determine the ideal grout line width, including tile size, material, installation location, and personal preference. In this guide, we’ll break down these considerations, helping you choose the best spacing to complement your design vision.

Exploring Grout Lines
Grout plays a crucial role in both the functionality and aesthetics of a subway tile installation. Beyond securing tiles in place and preventing shifting or cracking, it also acts as a protective barrier in moisture-prone areas, helping to prevent water damage. At the same time, grout influences the overall look of a space, with factors like color, consistency, and width shaping the final design. Among these, grout line width—measured in inches—has a particularly significant impact on the visual effect of subway tile.
For subway tile installations, the most common grout line widths range from 1/16 inch to 1/8 inch. However, the best choice depends on several factors, including tile size, material, location, and the desired aesthetic. When selected carefully, grout lines can enhance the beauty of subway tile, but if miscalculated, they can disrupt the intended design.

Factors Affecting Grout Line Choice
The choice of grout line width significantly impacts the overall appearance and functionality of your subway tile installation. Several key factors should be considered when making this decision:
Tile Size
The dimensions of your subway tiles play a crucial role in determining the ideal grout line width. Larger subway tiles can accommodate wider grout lines without disrupting the overall design, allowing for a balanced and proportionate look. The additional spacing can also enhance their visual appeal, making the layout feel more intentional. On the other hand, smaller subway tiles typically look best with narrower grout lines. Keeping the spacing minimal also helps maintain a cohesive and visually pleasing appearance, ensuring that the grout doesn’t overpower the design.
Tile Material
The type of tile material used significantly impacts the ideal grout line width. Ceramic and porcelain tiles, known for their precision and uniformity, typically allow for narrower grout lines. These non-porous materials are resistant to heat, moisture, and scratches, which contribute to their ability to maintain close spacing without compromising the installation's integrity. In contrast, natural stone tiles such as marble, onyx, limestone, and travertine are porous, meaning they can be affected by moisture if not properly cared for and sealed. Due to variations in size and thickness commonly seen in natural stone and handmade tiles, wider grout lines are generally recommended to accommodate these irregularities and ensure a secure and even installation.
Installation Location
The intended location of the subway tile installation plays a crucial role in determining the appropriate grout line width. Busy areas, such as floors and entryways, benefit from wider grout lines. The added width provides increased traction, helping to prevent slips and falls. Additionally, wider grout lines can better accommodate the wear and tear associated with these areas. On the other hand, walls, particularly in less busy areas or wet environments like showers, can often handle narrow grout lines. This creates a clean, seamless appearance while maintaining the necessary water resistance.
Desired Aesthetic
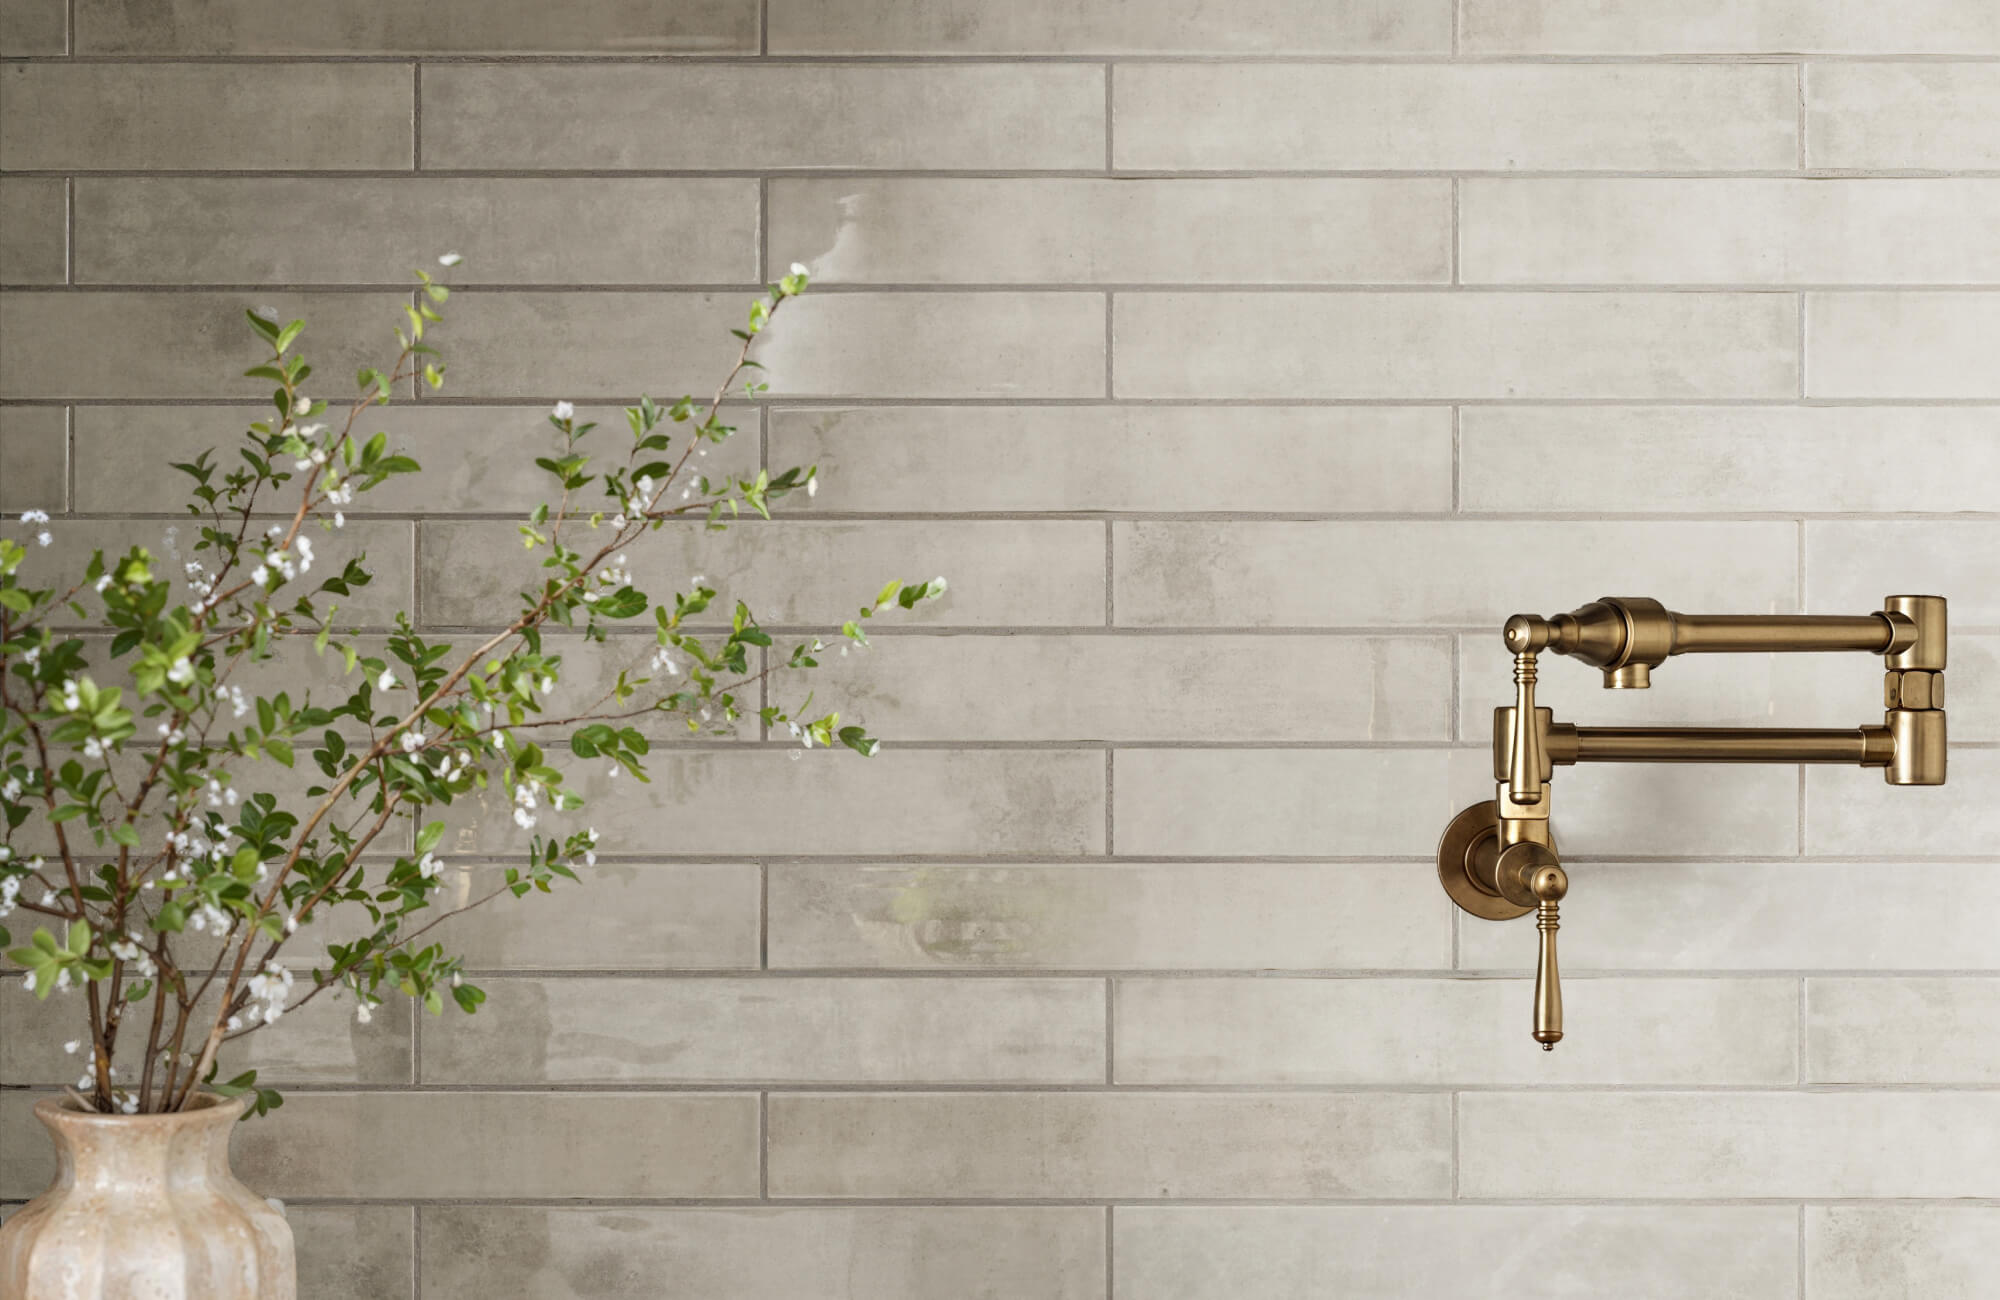
Ultimately, the desired aesthetic for your space will dictate the ideal grout line width. A minimalist or contemporary design often favors narrow grout lines, creating a sleek and streamlined look. The narrow spacing between tiles contributes to a sense of continuity and clean lines, enhancing the modern aesthetic. Conversely, a traditional or rustic style may benefit from wider grout lines. The added space between tiles can create a sense of warmth and character, complementing the overall design.

Common Grout Line Widths
The width of grout lines influences both the visual appeal and practicality of a subway tile installation. Choosing the right spacing ensures a cohesive look that aligns with your design style and maintenance needs.
1/16 Inch Grout Line
A 1/16 inch grout line is the narrowest width commonly used for subway tiles and creates a clean, minimalist aesthetic. This narrow spacing minimizes the visual impact of the grout, allowing the subway tiles to become the focal point. It's particularly well-suited for small to medium-sized subway tiles in contemporary or modern design schemes. This grout line width can contribute to a sense of spaciousness and uniformity in a room.
1/8 Inch Grout Line
A 1/8 inch grout line offers a balance between a modern and traditional look. It's a versatile option that works well with a variety of subway tile sizes and styles. This grout line width provides a clean appearance while adding subtle visual interest. It's suitable for both contemporary and classic design styles, making it a popular choice for many homeowners.
While these are the most common grout line widths for subway tile, it's essential to consider the factors discussed earlier, such as tile size, material, installation location, and desired aesthetic, to determine the best choice for your specific project.

Installation Tips
Achieving a professional and long-lasting subway tile installation requires careful attention to detail. The following tips will guide you through the process from grout selection to maintenance.
Consistency is Key
Maintaining consistent grout line width throughout your subway tile installation is crucial for achieving a professional and polished finish. Inconsistent grout lines can detract from the overall appearance of the tiled area. To ensure even spacing, use tile spacers during installation. These small plastic or rubber spacers are placed between the tiles to create uniform gaps for the grout.
Grout Selection
Choosing the right grout is essential for both the appearance and durability of your subway tile installation. For floor installations or areas with wider grout lines, consider using sanded grout. Sanded grout is more durable and less prone to cracking than unsanded grout, making it a better choice for frequently used areas. The grout color should also complement your subway tile and overall design scheme.
For darker subway tiles, such as our Jaden 2.5x16 Glossy Ceramic Tile in Ink, using a matching dark grout creates a seamless and sophisticated look, while lighter grout provides contrast and emphasizes the tile shape. Conversely, for lighter subway tiles like our Madilyn 3x12 Glossy Ceramic Tile in Pearl, white or light gray grout blends effortlessly for a clean, cohesive aesthetic, whereas darker grout enhances definition, making the tile pattern stand out.
Grout Application
Proper grout application is crucial for a successful subway tile installation. Start by mixing the grout as per the manufacturer's instructions to ensure the correct consistency. Use a grout float to apply the grout across the subway tiles, pressing it firmly into the joints for thorough coverage. Afterwards, hold the float at a diagonal angle to efficiently remove excess grout from the subway tile surfaces. Allow the grout to set for the manufacturer-recommended period before gently wiping away any residue with a damp sponge.
Remember that it is essential to consult with the subway tile manufacturer to ensure that the specific type of tile and grout you are using is appropriate for your particular application. For instance, ceramic subway tiles, which are more prone to chipping, are generally recommended for wall applications, while porcelain subway tiles, known for their durability, are suitable for both floor and outdoor applications.
Grout Care
Proper grout care is essential for preserving its appearance and ensuring long-term durability. One of the most important steps in maintenance is sealing, as it creates a protective barrier that helps prevent stains, water damage, and mildew growth. Be sure to apply the sealer according to the manufacturer's instructions, allowing it to dry completely before adding additional coats if necessary.
In addition to sealing, regular cleaning with a mild detergent and water helps prevent dirt buildup and keeps grout looking fresh. Avoid using harsh chemicals or abrasive cleaners, as they can weaken the grout and lead to premature wear. By following these simple care practices, you can extend the lifespan of your grout and maintain the integrity of your subway tile installation.

Design Considerations
Grout line width plays a crucial role in defining the overall look and feel of your subway tile installation. From tile layout to color contrast, these key design elements can help you achieve a cohesive and visually appealing space.
Subway Tile Layout
The orientation of subway tiles directly affects how grout lines shape the overall aesthetic. A traditional horizontal layout creates clean, continuous grout lines that emphasize width, making a space feel more expansive. Conversely, a vertical layout draws attention to the grout lines running from floor to ceiling, giving the illusion of height and making a room appear taller.
For a more intricate and textured effect, a herringbone pattern uses grout lines to create movement and visual interest. The V-shaped arrangement naturally draws the eye along the diagonal lines, making the grout an intentional design element rather than just a functional component. Because herringbone layouts feature more grout joints, selecting a durable, stain-resistant grout is also essential, particularly in heavily used or moisture-prone areas. To experiment with different grout and layout combinations, use our augmented reality (AR) tool for a realistic preview before installation.
Accent Tiles
Incorporating accent tiles into your subway tile design is an effective way to highlight grout lines while adding depth and character to the space. By introducing tiles with contrasting colors, finishes, or patterns, you can create a striking visual effect that enhances the overall design. For example, darker accent tiles placed strategically—such as in every third row—naturally draw the eye, making grout lines more pronounced and contributing to a structured, intentional layout.
Overall Design Style
The grout line should seamlessly complement the overall design aesthetic of the space. When selecting the grout color and width, it’s important to consider elements like the color scheme, furniture, and lighting to ensure a cohesive look. In minimalist spaces, narrow grout lines paired with a neutral grout color help maintain a clean and uncluttered appearance.
For traditional or rustic interiors, wider grout lines can enhance the charm of the design, especially when paired with a grout color that complements the room’s warm tones. In addition to that, grout color can serve as a subtle yet effective way to tie in other design elements, such as cabinet hardware or light fixtures, creating a harmonious and well-balanced finish.
The Perfect Subway Tile Spacing
Selecting the right grout line width for your subway tile project is more than just a technical decision—it’s a key factor in achieving a polished and cohesive design. The right spacing enhances the aesthetic appeal of your tiles while ensuring their durability and practicality. Whether you prefer a sleek, modern look with narrow grout lines or a more traditional style with wider spacing, thoughtful planning will help you achieve the best results.
Considering factors such as tile size, material, installation location, and overall design vision can also help you create a space that feels intentional and well-balanced. And if you're looking for expert guidance, our team is here to help—contact us to explore the best subway tile and grout combinations for your project!
